OK, so that isn't the prettiest of pictures, however you get the idea. Anyway, the problem is getting the washers in there (it can be a tight fit), getting them to stay there, and in most cases getting everything (bolt, washers and holes) to line up to get the bolt through takes some effort. So I referred back to one of the previous lessons - don't be afraid to hit it with a hammer. Hard. And sometimes that even worked ;-) Other tricks included sticking an 8mm allen key through the other side an using that to lever the arm and move it around to get things aligned, and using screwdrivers etc to allow me to hammer the washers in from the side.
However, after some perseverance, it all went in. There's only one spot where it didn't go perfectly - the two inside washers ended up on the same side. That's just the way the arm wanted to sit. I had to remove the uprights, but that's OK, as they were going to come off anyway to get the halfshafts in (once the diff is in, which is waiting on the moving of the brakelines.....)
After that (and the usual time for standing around talking - it is a shed after all), came putting the carpets in. And this is where the light-headedness comes in.
First, I needed the glue to keep it all stuck down. So off to Bunnings, where I find the glue locked in a cage. When I ask why, it's because people buy it to sniff it. I assume the kid decides that I'm an upstanding member of society and not likely to be a glue-sniffer (dunno why - I'm in my usual Saturday uniform of an old t-shirt with holes in it, cheap trousers and trainers) and hands me a tin. I also grabbed a few $2 paintbrushes to sacrifice.
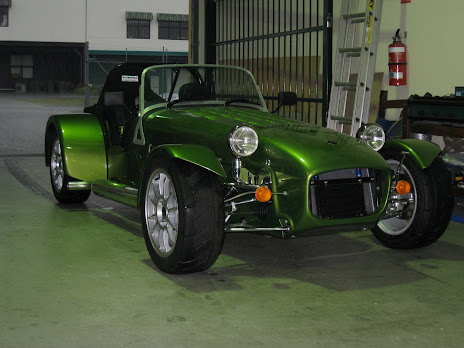
Back to the workshop, and prefitting the carpets. Only a bit of trimming required - the carpets were cut for the longer footwell for the passenger. If you recall, all footwells from now on have been shortened to allow for Duratec installation.
The glue itself then goes in. I'd masked everything up beforehand, as the stuff is apparently lethal and gets everywhere, and I can imagine putting a dollop on top of a screw or down on of the threaded holes for the seats and mucking it up. It's at this point that the fumes hit me.
The tin warns that it should only be used in well ventilated areas - they must mean outside in a gale, because under any other conditions, this stuff is potent. I'm applying it into a small space inside a clubman, so it tended to hang around. Plus you have to get your head right in there to get the glue to the front of the footwell. Once I'd finished the passenger side, I was feeling it, and the drivers side finished me off.
However, it's all in there now (and boy, it's not coming out, I can tell you). Yet one more thing completed in the build.
And now I'm off to lie down. And not operate any heavy machinery......


No comments:
Post a Comment